
 |
The Internet's Largest and Fastest Growing Engraving Community
Discuss hand engraving using basic to the most advanced methods and equipment
Forum Members: 14,762. Welcome to our newest member, Katherine
EngravingForum.com -
Domain since Feb 7, 2003
 Graver Video Conferencing is empty Join now!
|
|||||||
| ENGRAVING TOOLS - Paypal accepted | Classes | Glossary | Feedback | Tips | Sharpening | Bulino | Videos | Forum Policies |
 |
|
|
Thread Tools |
|
#1
|
|||
|
|||
|
(If you would like to comment on this submission, you may do so by posting a reply in this thread. Thanks! Kaitlin)
Star setting Diamonds There are two great threads on diamond setting I have read lately , Daniel Houwer's eternity ring, and the just posted one by Jim Zimmermn on a Gypsy tutorial which are both excellent guides to setting stones, In most good setting the basics are always the same only methods to achieve them vary, so in my tutorial of star setting I will show my methods. This is also my first use of the airgraver on a customer's job where I have decided to cut, set, and bead the diamonds with the classic instead of using my usual hand tools. Although I have only had the graver for a few days, I think I already have enough control with the graver to perform this task. Secondly this is a paying job,I set several rings like this a month, and I hope with practice, I will not only perform a better job, but do it easier and quicker The customer's job is to set 3 small 150pc diamonds ( about 1.15mm in size ) in to a ladies 18 ct yellow gold 2.5mm wide wedding band. I would normally, cut the stars with a v and flat gravers, lift the beads to hold the stone with a round graver. and set the lifted beads with a beading tool. Most beads I lift with a .7mm round graver, but on these smaller stones I use a .4mm round graver. Now lindsay does not make a template for a round graver,but I thought I could fashion one with the flat templates. First I used the flat templates to reduce the sides of the blank till it was .4mm wide, I also shaped the bottom face as well as reducing the top of the graver. Then by hand I used a fine small flat diamond file to round the bottom of the tool, progressing through finer emery papers till it had a polished round shape on the bottom, then the face was ground to give to a 45' cutting face, I Finished the top of the graver with with the first universal v template guide, to reduce it some more and give it a ^ top. I don't know if this last step really lets you see your work any clearer, but it does not hurt. you do not put a heel on this graver, I use it just to lift beads Finished tool 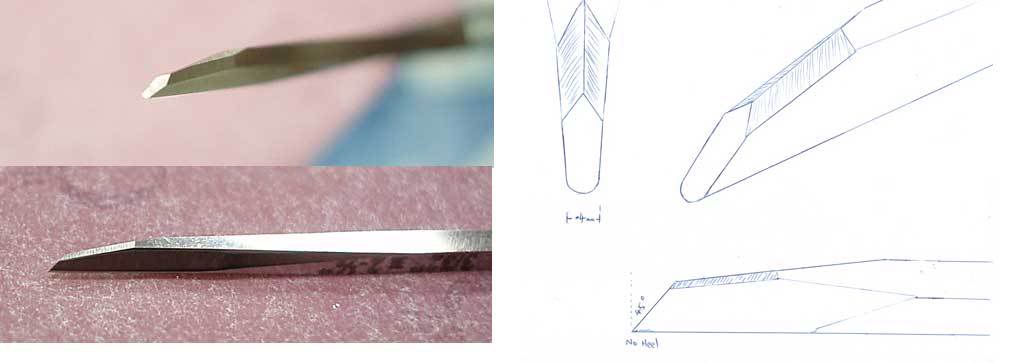 With our new tool made lets begin when setting multiple stones I always try to pick a set that are as close as possible all the same size. Natural stones are usually always different sizes, an it can be noticeable when set even in these small sizes. materials picture  Next use dividers and or calipers to mark a centre line and spacing of your stones on the ring. divider picture  Next i use a scribe to imprint the centre points, then center punch each point where I want to drill. scribe and punch ring 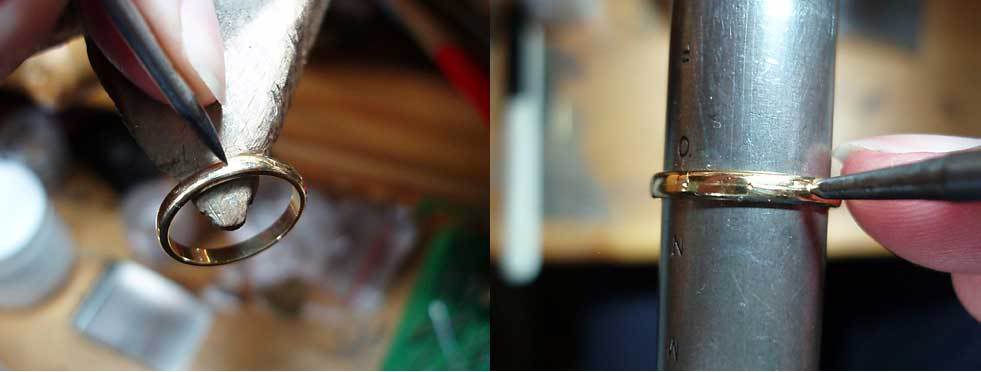 I then drill each hole taking care to keep it perpendicular to the ring, I also measure my drills for my small stones, making SURE its smaller than the diamond, in this case a .8mm drill, for the 1.15mm stones, I also finish inside the band with a bud or ball bur to clean up the inside burs drill holes  Now I measure the diamonds and use a bud bur a bit smaller in size to reduce a bit of the metal in the drilled holes Next I used a setting bur to cut the seat for the diamond, Now I think this is the MOST CRUCIAL STEP in all setting procedures, if cut well, the setting will be easier and the diamond better supported when you are moving the beads over the stone . what you want is for the diamond to be set just below the surface in a nice firm hole, I ALWAYS use a smaller setting bur than the diamond , try the fit of each diamond and gradually move up in bur size till the fit is just right. I do this for each and every diamond and try all the diamonds for fit. seating pic 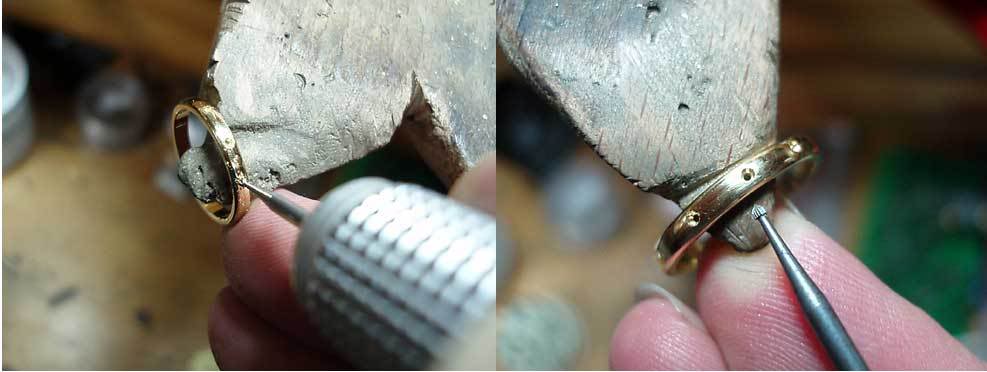 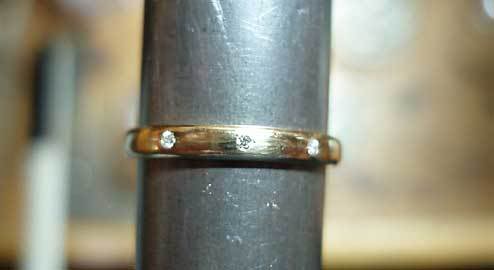 AND NOW FINALLY SOME AIRGRAVER CUTTING I remove the stones (dont loose them) and are ready to cut the stars with the airgraver. I have fitted the graver with the calligraphy graver, I think this will cut a nice wide shallow cut. I cut all the horizontal star facets first then all the vertical, Usually the horizontal are a little longer cut than the vertical, I also ran the belly of the graver first over some 2500 grit emery paper to finely polish the graver edge. I think it looked good for a first effort. star cutting 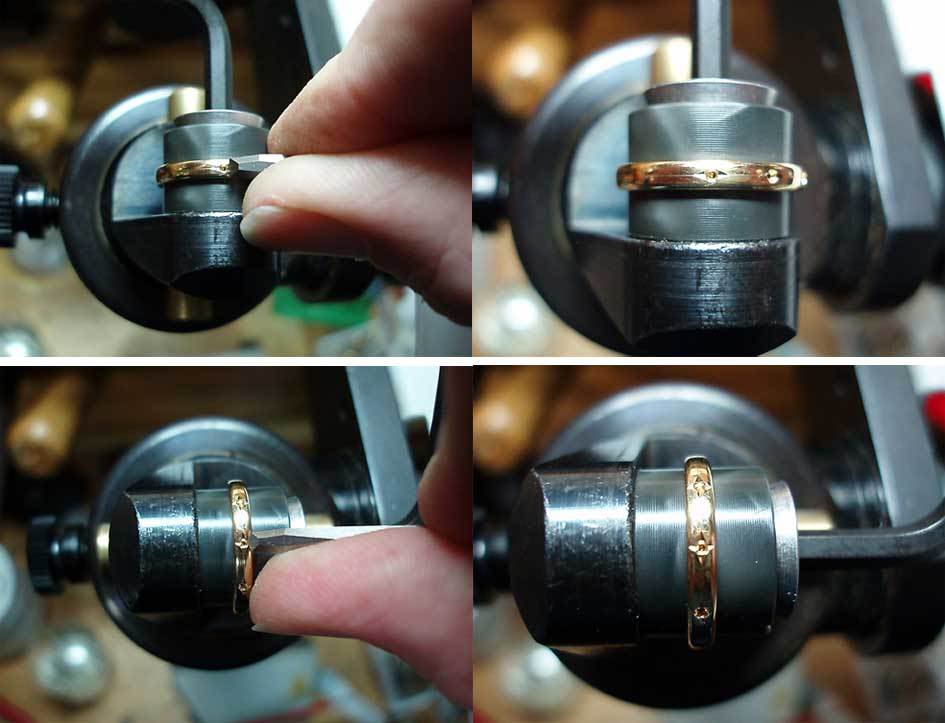 Now I fit the graver with the detailing graver for the in-between points, I dont want these to bee too wide and they are to stop short of the hole, about half way star cutting 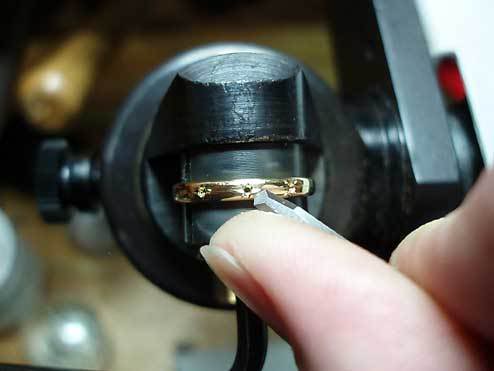 xxxxxxxxx xxxxxxxxxI refitted the stones, sometimes, you may have to use a setting burs again if the holes have been squashed a little when cutting the stars, remember dont use too large a bur. Now I fitted my new made round graver to lift the beads from the in-between part star cuts, I turned the graver down to a finer setting as these need to be cut with some control and watched carefully as the tool cut closer to the diamond and lifted a bead, as it got close to the hole, I kept the power on but increased the angle of the graver till it was near vertical. this stops the bead from being cut off and forces the bead over the diamond. This worked very well controlled, and easy, I soon had all the beads over the stones WOW lifting beads 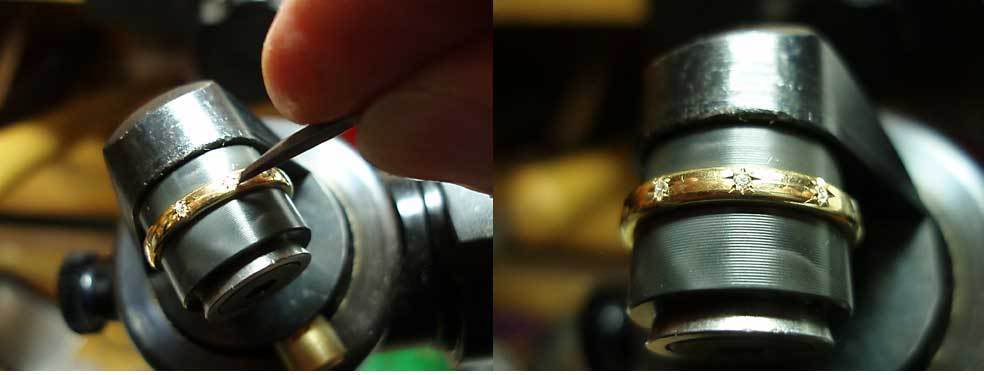 Lastly I fitted the grave with a round setting beader, again with the power on low I held the graver vertical while over the beads and applied power and watched as the beader shaped the metal over the diamonds beader 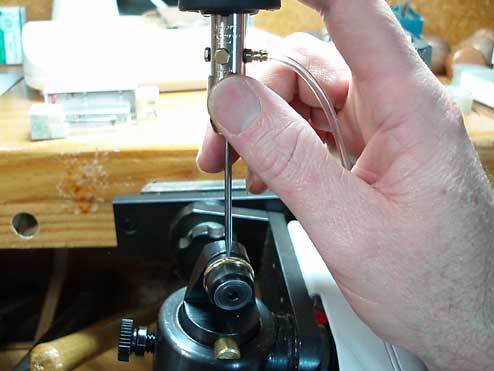 I finished with a quick polish just to remove the guide lines and any scuff marks, but not too much as you want the star cutting to be sharp, and the jobs done.  Now I think that I could have completed this job quicker with the airgraver than I usually do it by hand, Taking the pictures took most of the time. I also think I performed a better job than I achieve by hand. this is because of the fine control I had with the airgraver, and cutting the stars was a breeze with the polished calligraphy graver. Thank you lindsay. Paul |
|
#2
|
|||
|
|||
|
Hello all
I thought I would update you all on my progress star setting with the airgraver. I have now set four wedding rings using the airgraver, all progressing faster than I used to set by hand, and with better control. The last ring I star set I used a different method, now this is no better than the previously shown method ( I still prefer the look of the first method ) but it is a lot quicker, you only use the one graver throughout the whole job, and there is no use of beaders which on these small beads need reshaping nearly after every job. The diamonds are held in by the side star cuts, by pushing a bit of the wall over the diamond, the pictures tell the story better than words. I will show the steps I used on this last wedder, but will omit the first steps in measuring and preparing the holes and seats for the diamonds, which is the same as the previous setting. First i cut the larger top and bottom points, then the finer diagonal star-points First star cuts 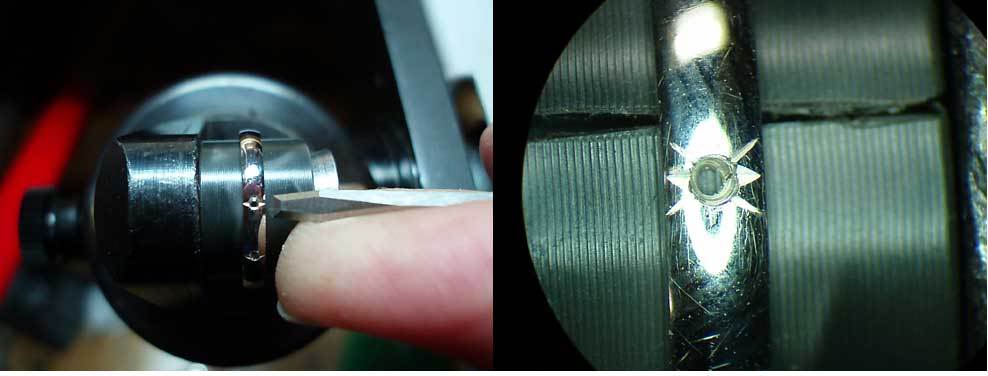 the diamonds are then placed in the holes, checking for fit and making any adjustments as necessary. Now the side star points are cut. Now these have to be cut in one go, also they have to be cut a fair bit steeper than usual, what you are aiming for is not to so much to cut or lift a bur but to "bunch" the metal in front of the graver, and as you near the diamond you lift the graver about 45' so it stops moving forward and pushes the "bunch" just over the diamond and secures it. Side star cuts/ claws 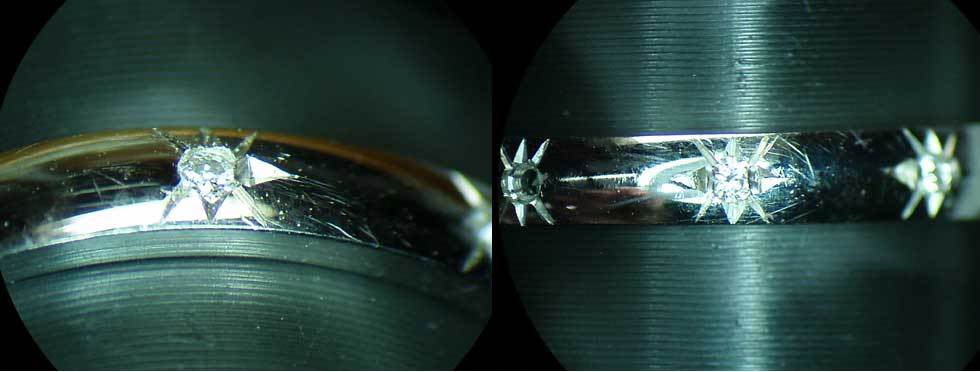 Next the tops of these burs are cur off level with a flat graver. Cut burs 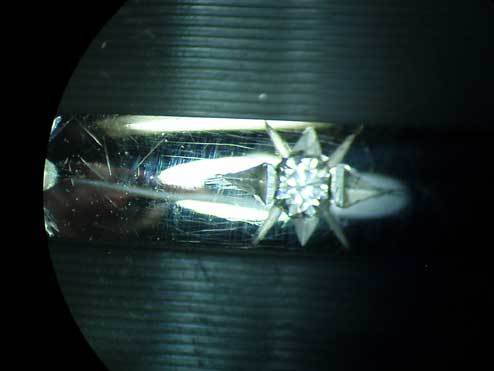 If this was a yellow gold ring I would slightly pumas wheel these cuts and give the ring a light polish and the job would be finished. With this ring being White gold, I had to further re rhodium plate the ring. Final ring 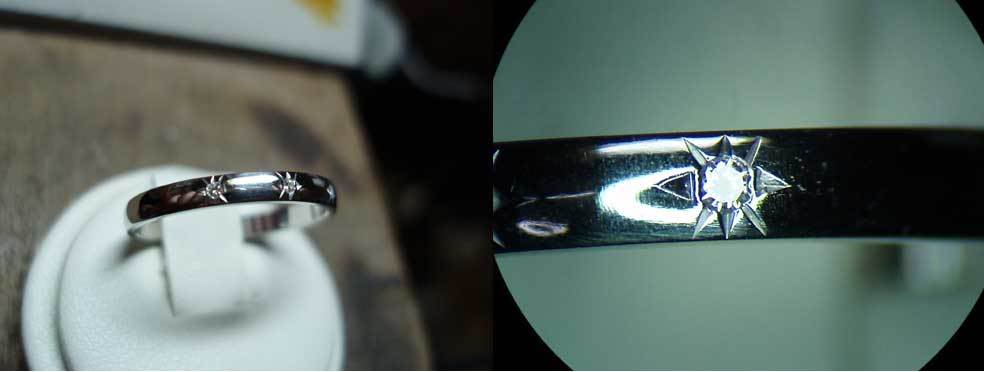 I still like the look of the traditional beaded star set diamond, and on larger diamonds would still set this way, but on the smaller diamonds ( under 1 pt ) this newer method wins hands down on time and even finish, trying to make 4 beads small enough and even is time consuming, it also covers a lot of the stone. Hope you like the update, sorry about the picture quality as usual yours Paul |
 |
| Bookmarks |
|
|